
Everything in the directory lives inside a tree, so adding something means placing it — beneath something that already exists, or as the root of a new tree. You add from the Directory page, and where you begin decides where what you add lands.
Where you can add
You add from the Directory page, the same place you browse. There are two ways to add, and which you use depends on where what you are adding should sit.
To add beneath an existing place, work from the tree: find the parent, open its actions menu — right-click the card, or use the menu button on it — and choose Add. The menu lists the kinds of thing that can sit there — the categories of that tree — so you pick what you are adding as you add it: Add ▸ Vehicle, say. The form opens already knowing its kind, titled for it. If what you are adding is a new kind entirely, choose New category… instead and pick or create the category on the form.
To start a fresh tree instead, use New root. That creates a top-level item with no parent — the root of its own independent tree, with its own set of categories.
Adding changes the shape of the directory, so the option appears only if your role lets you manage its structure. If you do not see a way to add, someone with the right permission will need to do it; see roles and permissions.
The add form
Every route opens the same short form; when you picked a category from the Add menu, the form already knows it and asks only for the rest.
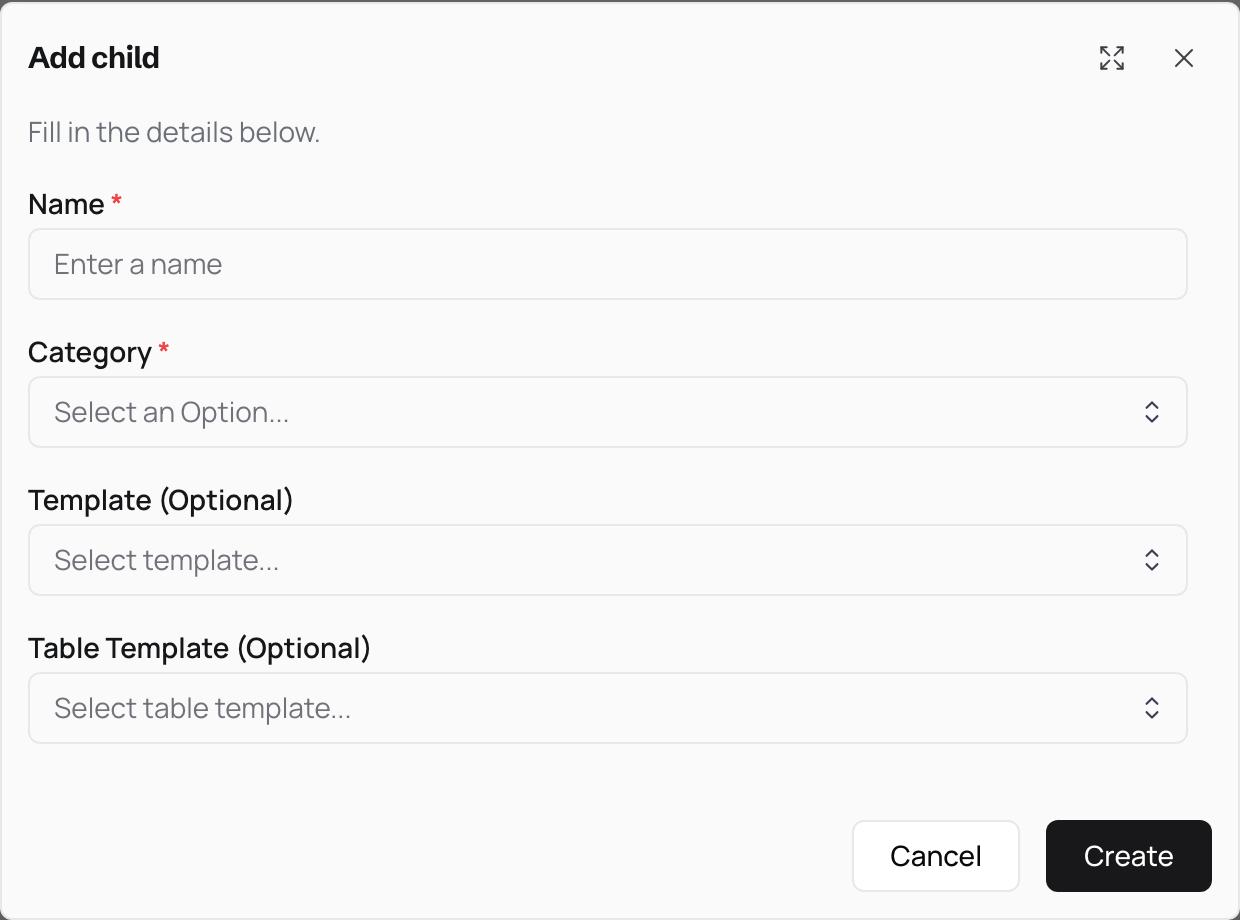
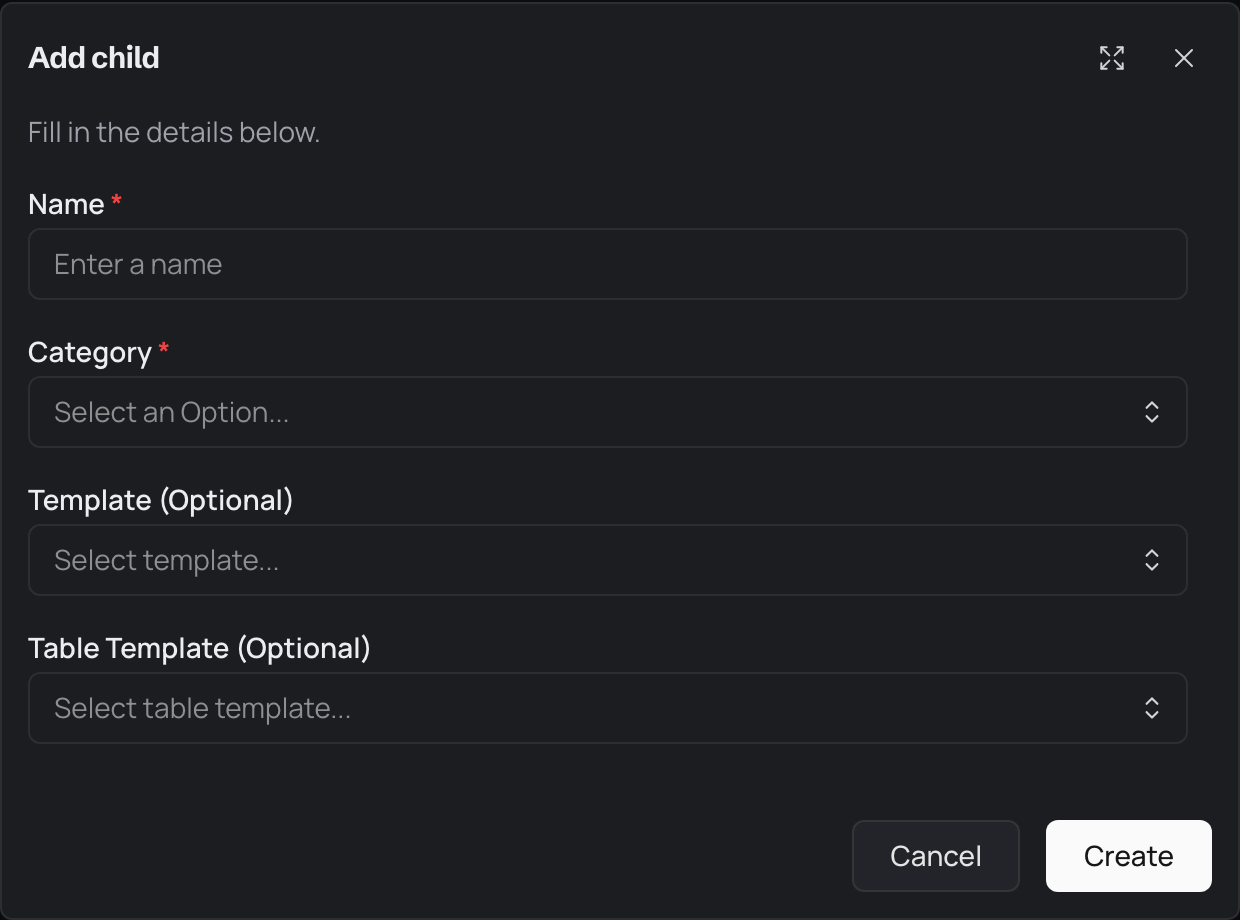
- Name — the label shown wherever the item appears in the tree, in lists and in breadcrumbs. It is required and cannot be left blank.
- Category — the kind of thing you are creating, such as a site, an area or an asset type. Picking it from the Add menu fills this in for you; arriving via New category… or New root you choose it here instead, and it is required.
- Template (Optional) — the form that captures the item's own details. Choose one and its fields appear beneath, ready to fill in as you create it. Leave it blank to add those details later.
- Table Template (Optional) — an optional table template. As with the template above, you can pick one now or add it later.
When the details are right, choose Create to add it. It appears in the tree straight away, and the view moves to frame it. Choose Cancel to close the form without adding anything.
Choosing a category
Everything in the directory has a category — the label that says what kind of thing it is at its level in the tree, such as a site, an area or an asset type. Categories give each level of the tree its meaning, and each one carries its own colour. To read more about how they work, see the directory.
A category is required: nothing can be created without one. Which categories you can choose from depends on where you are adding.
- Adding beneath a parent offers the categories that belong to that tree, so what you add fits the levels the tree already uses.
- Creating a new root offers the categories that can start a tree of their own.